How to jump start a semi truck in 9 steps
There are few things more frustrating than a truck with dead batteries. Just as the shift is to begin, a turn of the key leads to … nothing. Rather than roaring to life, the engine sits in silence or offers a weak grunt in protest. The lights in the cab remain dim.
Those who know how to jump start a truck such situations can be on the road in just a few minutes rather than waiting hours for a tow truck to arrive.
Anthony Tondola, a technical service engineer consultant with Navistar, says it’s an easy process – but there are several steps to follow to jump start a truck safely and correctly. The following steps were identified by frontline technicians through the OEM’s Voice of Technician initiative.
1. Assemble the tools for the job
Like any task, jump starting a truck requires the proper tools. This will require safety glasses, jumper cables that are 15-20 feet long with a minimum 2-gauge thickness, and a booster vehicle with an electrical system and voltage that matches the capacity of the discharged vehicle.
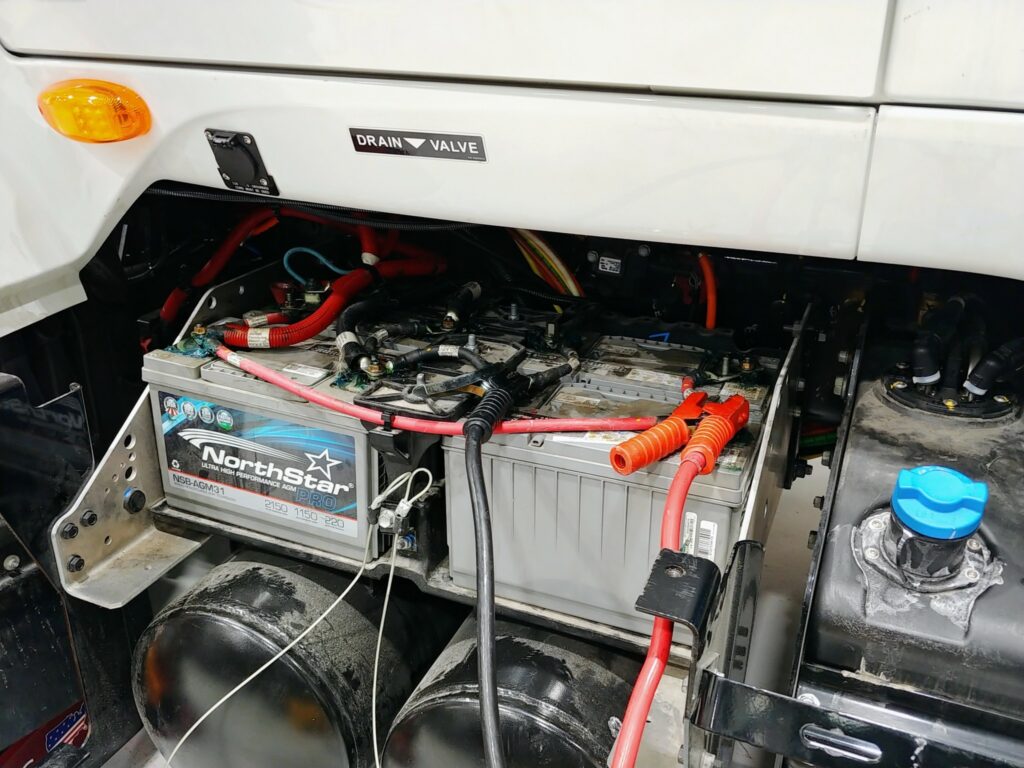
2. Inspect all batteries and cables
The batteries and cables will need to be in good condition before the process begins. Issues like insecure battery cables will need to be corrected before jump starting begins.
3. Put on the safety glasses
“Any time a vehicle is jump-started, there is a potential for a battery explosion,” Tondola says. “The chances of this happening are low, but never zero, which is why it’s always important to wear eye protection.”
4. Park the booster vehicle
Jumper cables should be able to reach between a booster vehicle’s and a discharged vehicle’s battery packs or jump-start studs. But don’t let the vehicles touch each other at any point during the process. Place both vehicles in neutral, set their parking brakes, and turn off all electrical loads.
5. Make the positive (+) connections
Connect the first positive jumper cable to the positive terminal on the discharged battery or the discharged vehicle’s positive jump-start stud. Then connect the jumper cable’s other positive end to the booster battery’s positive terminal.
6. Make the negative (-) connections
Connect the first negative jumper cable to the negative terminal on the booster battery, and the other negative end of the cable to the chassis frame on the truck with the discharged battery. “Do not attach to the negative battery of the discharged battery,” Tondola says, noting this could generate a spark that causes gases normally present around a battery to explode.
7. Charge the discharged batteries
With the engine running on the booster vehicle, charge the discharged batteries for at least five minutes.
8. Attempt to start the discharged vehicle
If the discharged truck does not start at this point, allow its batteries to charge for another five minutes before trying to restart it a second time.
9. Remove the jumper cables
Once the discharged truck starts, it’s time to remove the remove the jumper cables by reversing the procedure followed in Steps 5 and 6. Begin by removing the negative cable connected to the chassis ground on the discharged vehicle.
Have your say
This is a moderated forum. Comments will no longer be published unless they are accompanied by a first and last name and a verifiable email address. (Today's Trucking will not publish or share the email address.) Profane language and content deemed to be libelous, racist, or threatening in nature will not be published under any circumstances.
Would you send me a email address
The article states that both vehicles should have the similar electrical capacity, but I have boosted many heavy duty vehicles using my car as a booster with no problem.